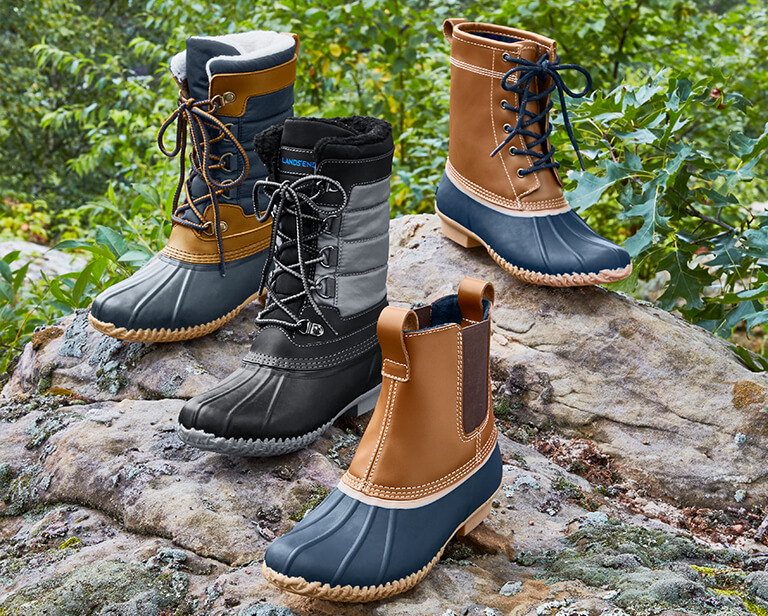
Duck boots are some of the most elegant shoes in the footwear arena and a great alternative for the winter season. The boots are durable and comfortable and can be worn for outdoor activities and as a fashion statement. These boots usually come pre-tied with the “Eastland Knot”, but if you want a little more support on the ankles, then you will need to learn how to tie your Duck Boots.
To tie your boots, you will need to lace up in a crisscross pattern. After lacing the boots you can tie them like regular shoes, or tie the laces into Eastland knots so the extra lace doesn’t get in the way while walking. After tying the laces into Eastland knots, you’ll be able to slip the boots on/off without having to retie them every now and then.
Step by Step Guide on How to Tie Duck Boots
Tying Eastland Knots
First, you need to make a small loop with the lace on the left side of your boots. The base of the boots should be right up against the eyelets. Create a loop about 1 inch (2.5 centimeters) long. Note that if it’s shorter or longer, you might not be able to tie the knot later on. To keep the base of the loop in place, pinch the base of your thumb and index finger.
The next step is to wrap the lace around the base of the loop. Take the end of the lace and bring it over and under the loop until it gets back to the starting point. Part of the lace should be now wrapped around the base of the loop, holding it in place.
Continue wrapping the lace around the loop until you’re close to the end of the loop. Make sure every wrap is right above the previous one. Quit wrapping the lace around the loop when you’re about 0.25 inches away from the end of the loop. At the point where you stop, there should be a smidgen of the loop peeking out from the wrapped lace.
The next step is to push the lace through the end of the loop. To do this, wrap the end of the lace over and under one side of the loop such that the end runs through the center of the loop. After getting the end through the center, pull it tight with your fingers so that the knot is finished on that side of the boot. Develop a similar knot on the other side of the boot using the other end of the lace.
You can adjust the knot by loosening or scrunching the wrapped lace. To loosen your boot, pull the wrapped lace-up away from the end of the lace such that it’s loosely wrapped around the lace emerging from the eyelet.
To tighten the knot on your duck boots, scrunch the lace wrapped around the loop down toward the end of the lace until it’s fully compacted. To enhance wearability, loosen the knots on each side of the boot, and then tighten the knots again.
Lacing Duck Boots
Put the lace through the inside of the holes at the bottom of the boot. Every end of the lace should be running through a different hole. The idea is to get them through the inside of the holes, not really down through the outside. After getting both ends through, grab an end in each hand and pull them out so there is an equal amount of lace on both sides of the boot.
Grab the left end of the lace through the next hole all the way up on the right side. To do this, push the lace up through the inside of the eyelets, not down through the top. After getting the lace through, use your hand to pull the lace all through.
Grab the right end of the lace through the next hole up on the left side. Put the end of the lace through the inside of the hole, just as you did with the opposite end of the lace. Pull the lace through once the end is through the eyelet. At this point, you should see the starting of a criss-cross pattern on your duck boots.
Keep crossing sides with the laces until you’re done with the whole boot. If you want a looser fitting boot, stop lacing the boot at the second-last hole from the top. If you want the boot to be snug, lace all the way up to the top, until you’ve gone through every hole.
The Bottom Line
There are many styles of lacing up your duck boots. But the criss-cross and Eastland knots are considered the most prolific. Most people use Criss Cross because it suits almost any style of shoes. However, if you want more freedom in your lace-up style, or have used almost all of your lace, then don’t worry, you can always go with the no-tie style.
You will just need to hang the laces to give your feet more space and cushion. Alternatively, you can tug your jeans in the backside of the flap, so untied lace-ups don’t touch the ground. One thing worth mentioning is that most people run away from lace-up due to the process of tying the shoes and learning the style. But you don’t have to give up on the most stylish footwear while you can just learn the procedure easily.

